Want to start using a science interactive notebook in your elementary classroom but don’t know where to start?
Science interactive notebooks are a powerful way for note-taking, organization, and creativity.
Try it out this year – I promise you that both you and your students will love it!
These notebooks are so versatile and will allow students to take creative control of their learning.
The hands-on flipbooks and flaps are fun to maneuver and manipulate.
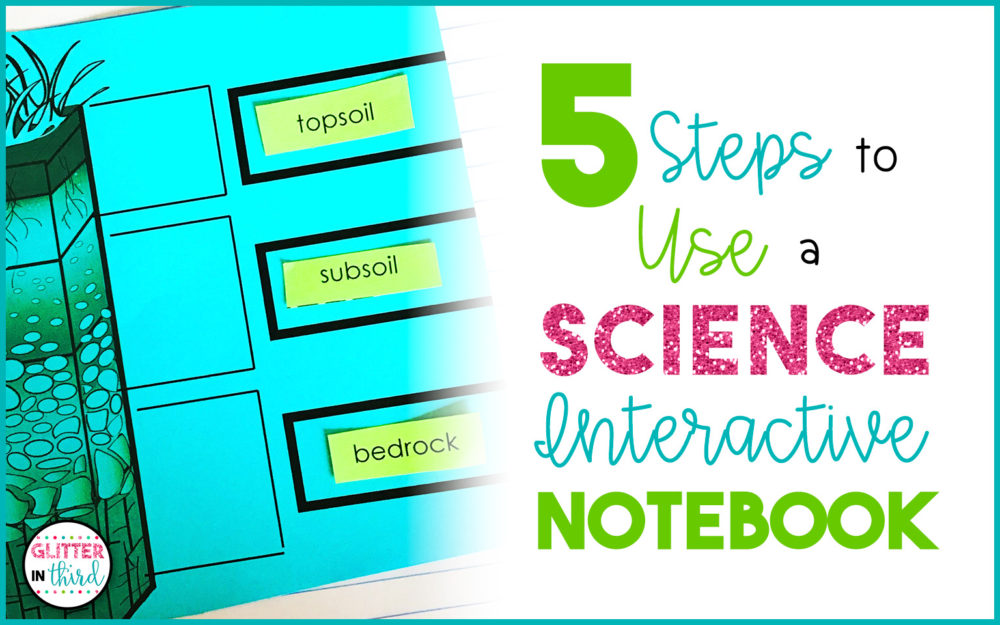
Here are 5 easy steps to start using an interactive notebook in your science block!
Don’t forget to scroll to the bottom to sign up for the FREE resource library.
Don’t want to read through the whole post?
You can check out my grade-level science interactive notebooks here:
What is the whole point of an interactive notebook?
We want our students to actively engage with the material!
Making an interactive notebook hands-on and easy to manipulate helps get those ideas to “stick” in your students’ brains.
It’s a concrete place for students to review material and have everything right at their fingertips.
It’s the time to be creative – so pull out the scissors and glue and get ready for a new way of learning!
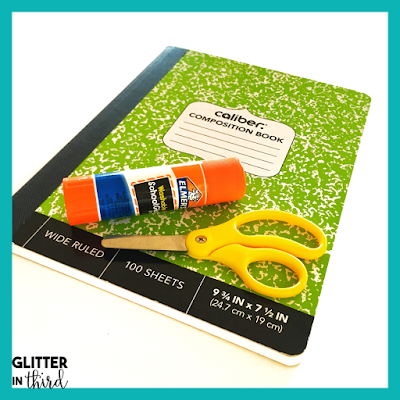
What is needed?
Some sort of notebook.
Many teachers prefer composition books, I personally love spiral notebooks.
Whatever works best for you!
Some teachers like setting up a table of contents. I personally found this to be rather cumbersome and hard to remember to fill out, so I personally didn’t like using one. It’s all trial and error to figure out your own personal preference.
As long as students have access to scissors and either a glue bottle or gluestick, then you are all set for making a science interactive notebook!
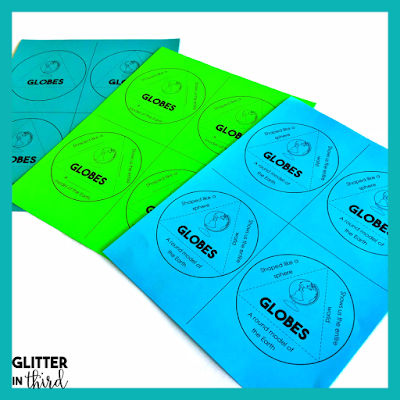
Choose an interactive notebook with the smallest amount of cutting.
My interactive notebook resources are easy to cut – no trying to cut a tiny heart out for half an hour!
A couple snips and students are good to go.
Interactive notebooks can also use a ton of paper.
My interactive notebooks are paper-saving – each printed piece will be cut in half for two students.
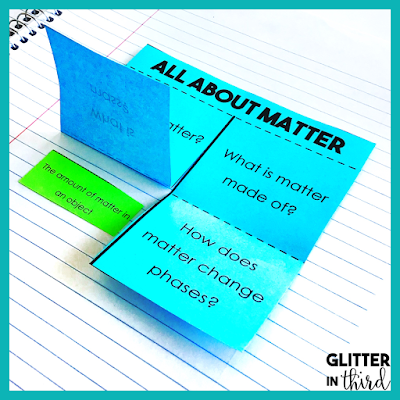
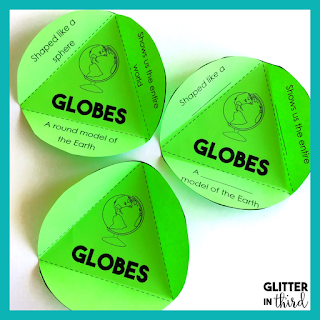
Science interactive notebooks shouldn’t have notes copied word-by-word.
It’s all about putting down the big idea.
Using a simple flipbook or some flaps to explain the big idea is both effective AND efficient.
And don’t worry about coloring – this can be something that students do if they finish cutting/gluing their notebooks early (but don’t delegate additional time to coloring).
As with everything in teaching – practice makes perfect!
Model how to cut and how to glue the interactive notebooks.
Have your own interactive notebook that is created alongside your students.
Show students how to take a paper template, make a few quick snips, and they’re done!
Show them how to dot the glue onto the back of the template.
It may sound ridiculous, but many of our students will take much longer to cut without having the visual of how to actually cut or glue something.
Again – it’s just a phase! Students will start learning what to do and get the hang of it very quickly once they see the cutting and gluing in action.
Differentiation is so important in the classroom, but it may not seem too straightforward regarding how to differentiate when using interactive notebooks.
My interactive notebooks are differentiated for the needs and learners in your classroom, as well as your own time restraints.
It includes three types of notebook pieces that allow you to choose whether your students will manually fill in the notes, fill in the blanks, or to give pieces to students with the notes already filled out.
Students can get a different interactive notebook piece depending on their own ability!
How neat is that!?
When it comes to testing or assessments, this is where the interactive notebooks will be most valuable and save you so much dang time!
Make sure to pull these out when students are studying or reviewing science material.
Not only will this save you time regarding not having to make additional study guides, but students will enjoy looking at their past work and using it to review.

You can snag these at Glitter in Third on TPT.
They are available in grade levels 2-5.

I have lots more science ideas on my blog!
Need to learn about curriculum mapping in science?
I have a blog post on how to do curriculum mapping in the summer so that you’re all ready to teach science during the school year!
You can read it HERE.
Want seasonal freebies and goodies? (Paper AND digital!)
Make sure to sign up for the FREE resource library!
Signing up gets the library’s password emailed immediately to your inbox, so you can start checking out the library ASAP 🙂